Popis
Tvrdoměr QNESS 200 CSA+
HIGHLY AUTOMATED, PRECISE AND RELIABLE
During the development of the Qness 200 units, particular attention was paid to the following things: Maximum performance with minimum effort.
A fully automatic XY slide will guarantee high precision hardness testing. It is ideal for fully automatic repeated tests and progression tests. Its optical system with color camera provides reproducible and reliable results every time.
Operation via an external PC system is carried out based on the user-friendly Qpix Control 2 hardness testing software, providing benefits such as automatic height adjustment, contactless exploration, or CAD compatibility.
Product Advantages
- Large test force range (0,5kg – 187,5kg)
- Automatic 3-axis control
- 5-position tool changer
- Robust, welded steel frame
- Test table 180 x 200 mm
ROZSAH TESTOVACÍ SÍLY A APLIKACE SÍLY
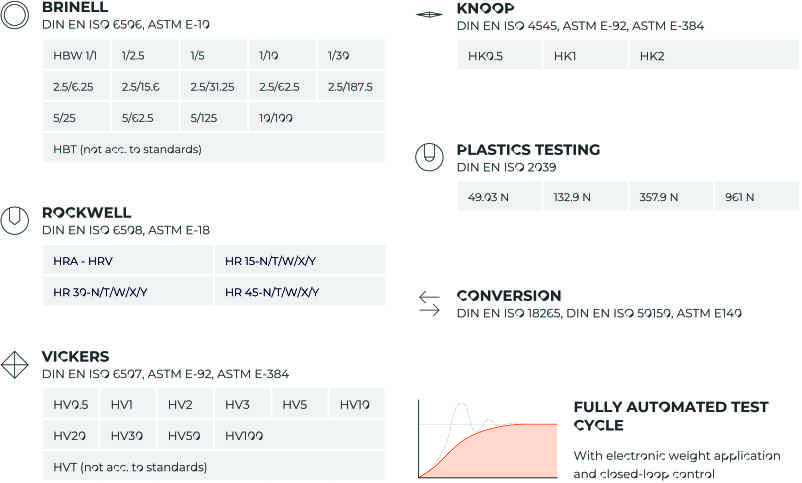
QNESS 200 CSA+: 0.5 - 187.5 kg (4.9 - 1839 N)
ZKUŠEBNÍ METODY A KONVERZE
HIGHLY ACCURATE RESULTS IN ULTRA-SHORT TIME
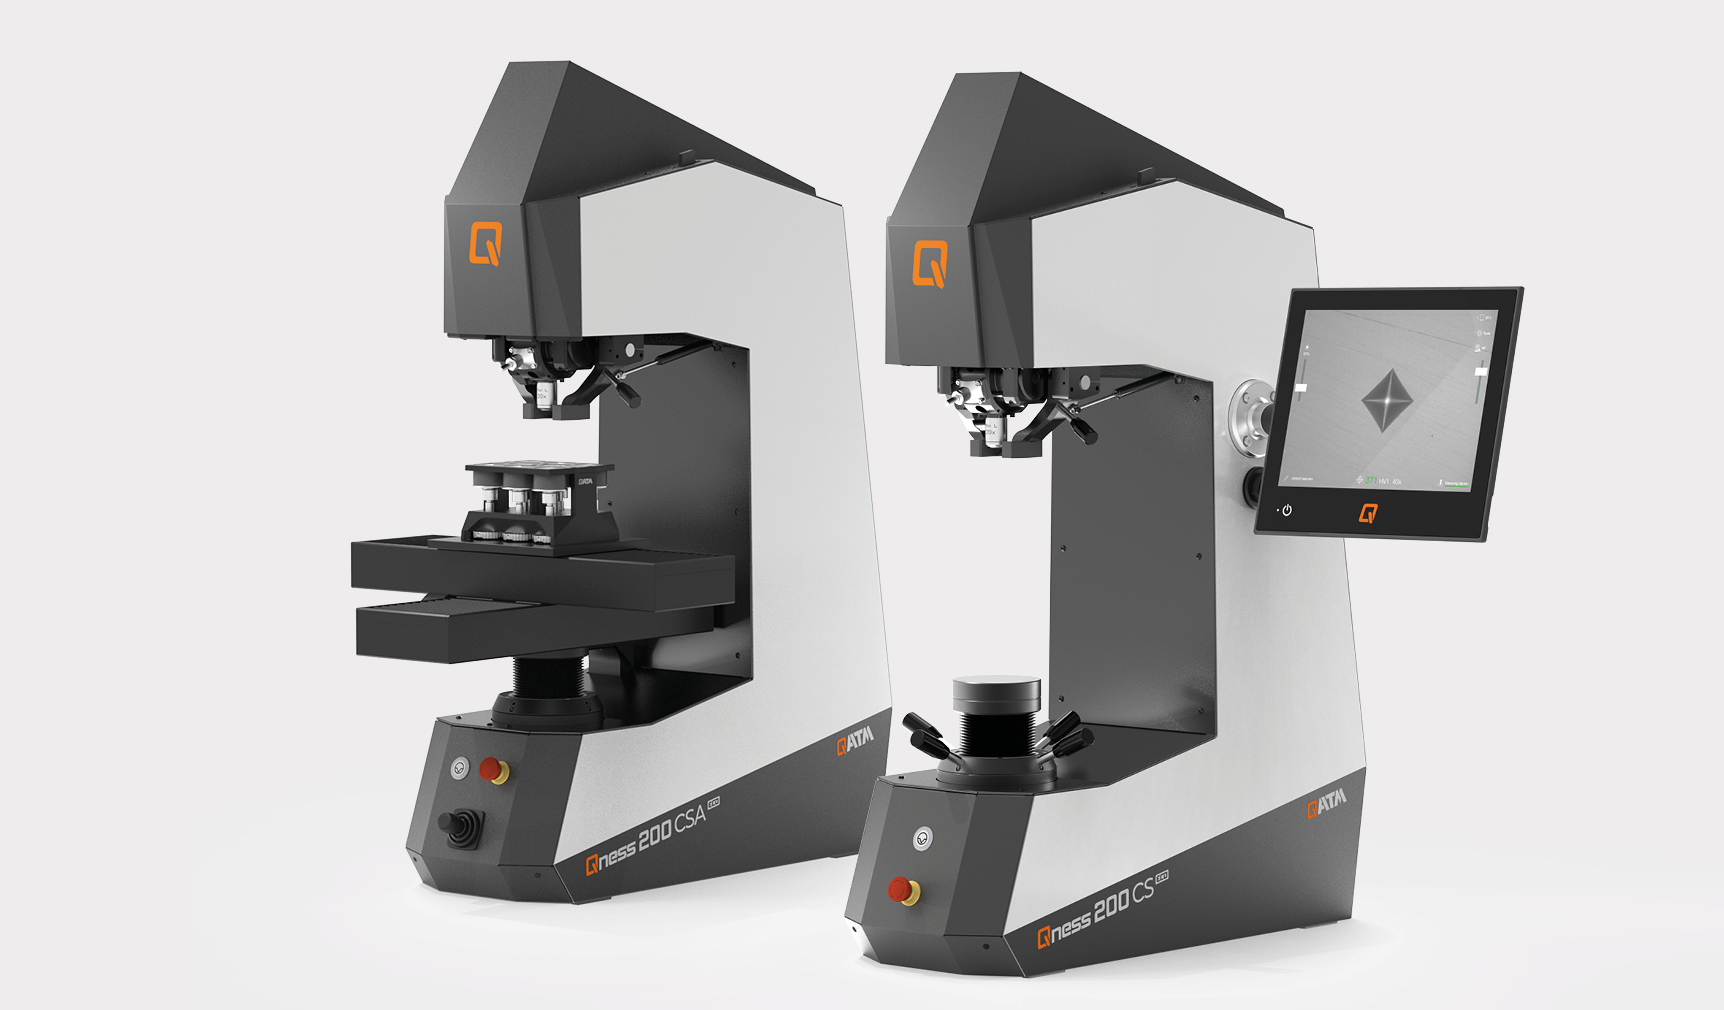
COMPACT DESIGN - LATEST TECHNOLOGY
 |
|
MADE IN AUSTRIA
 |
Unmatched in its class! We know how important a long-serving superior-quality device can be and guarantee excellent quality from our Qness 200 CS/CSA+ series. Developed and manufactured in Austria! |
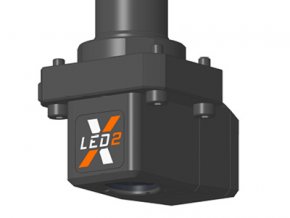
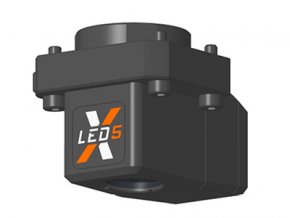
XLED BRINELL EVALUATION LENSES
 |
XLED illumination modules revolutionize the analysis of Brinell indentations. Due to beading on commercially available lenses, soft Brinell indentations in particular can be subject to imprecise gauging results. In contrast, XLED lenses guarantee precise and repeatable measurements, regardless of material type and hardness, due to direct and wide-extension illumination. |
SWIVELING DOWNHOLDER
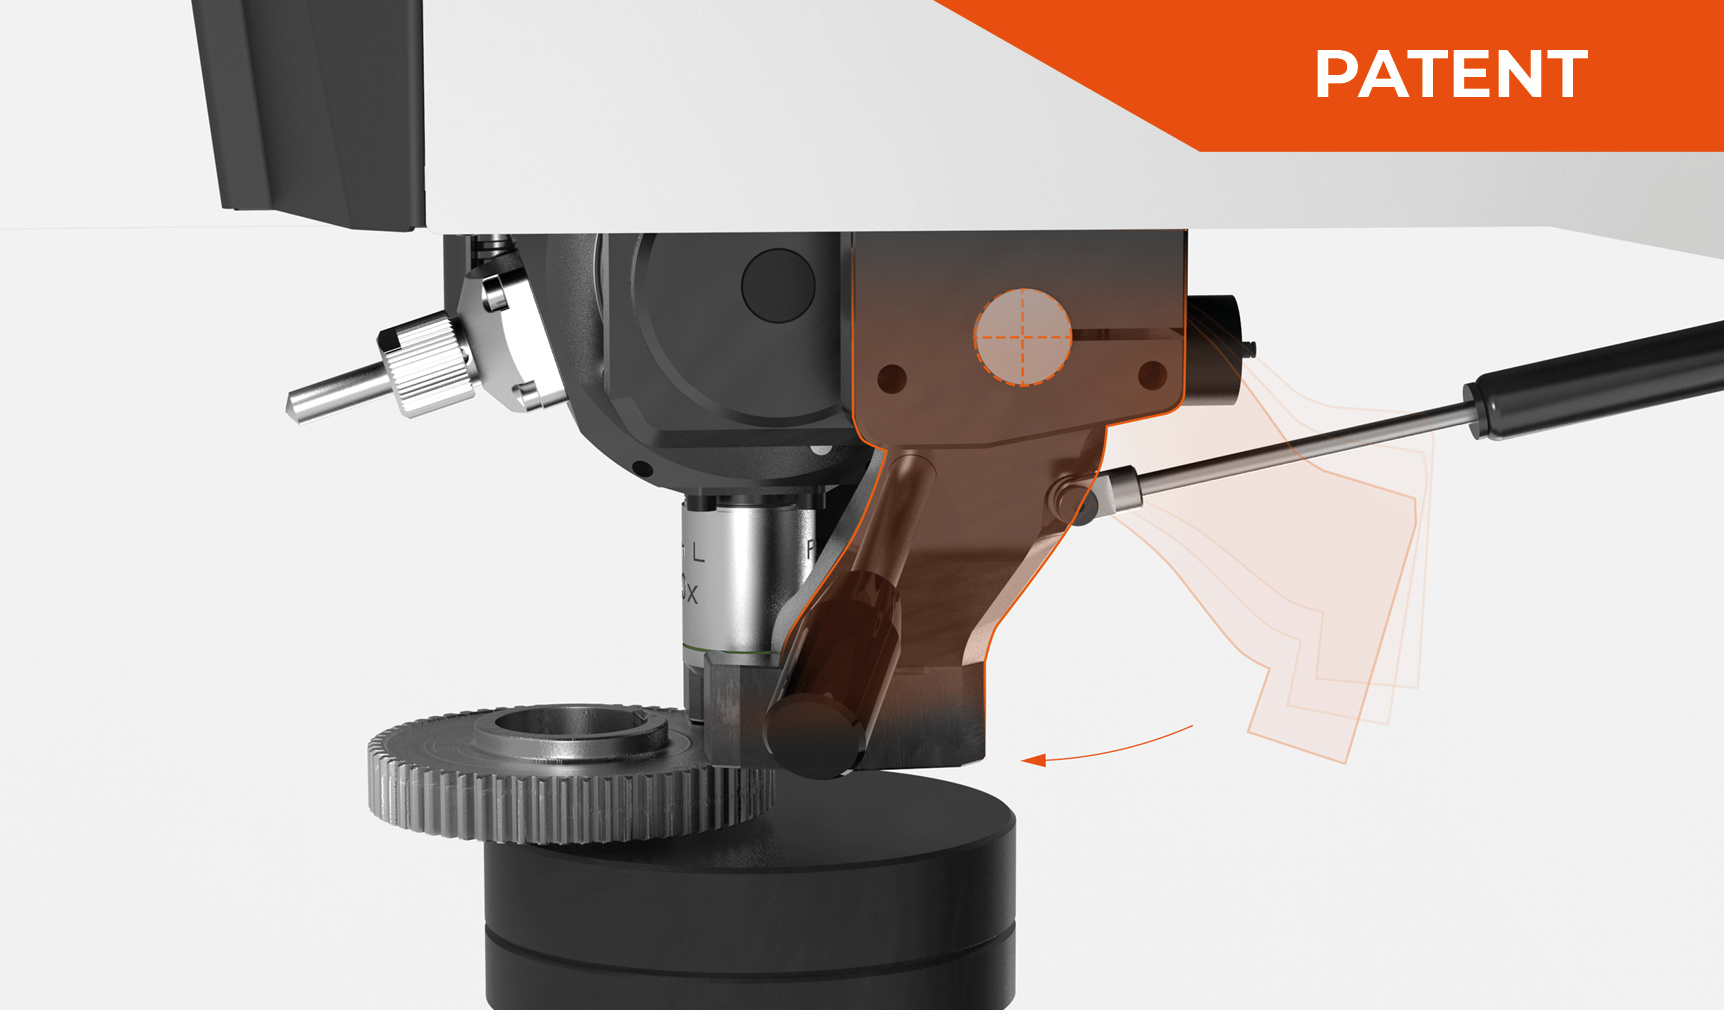 |
No long tool changeovers for inaccessible test positions. The downholder can be swiveled in and out via manual action. Furthermore, the clamping elements can be changed easily and adapted to suit the customer’s component. |
ETHERNETOVÉ PRŮMYSLOVÉ KAMERY
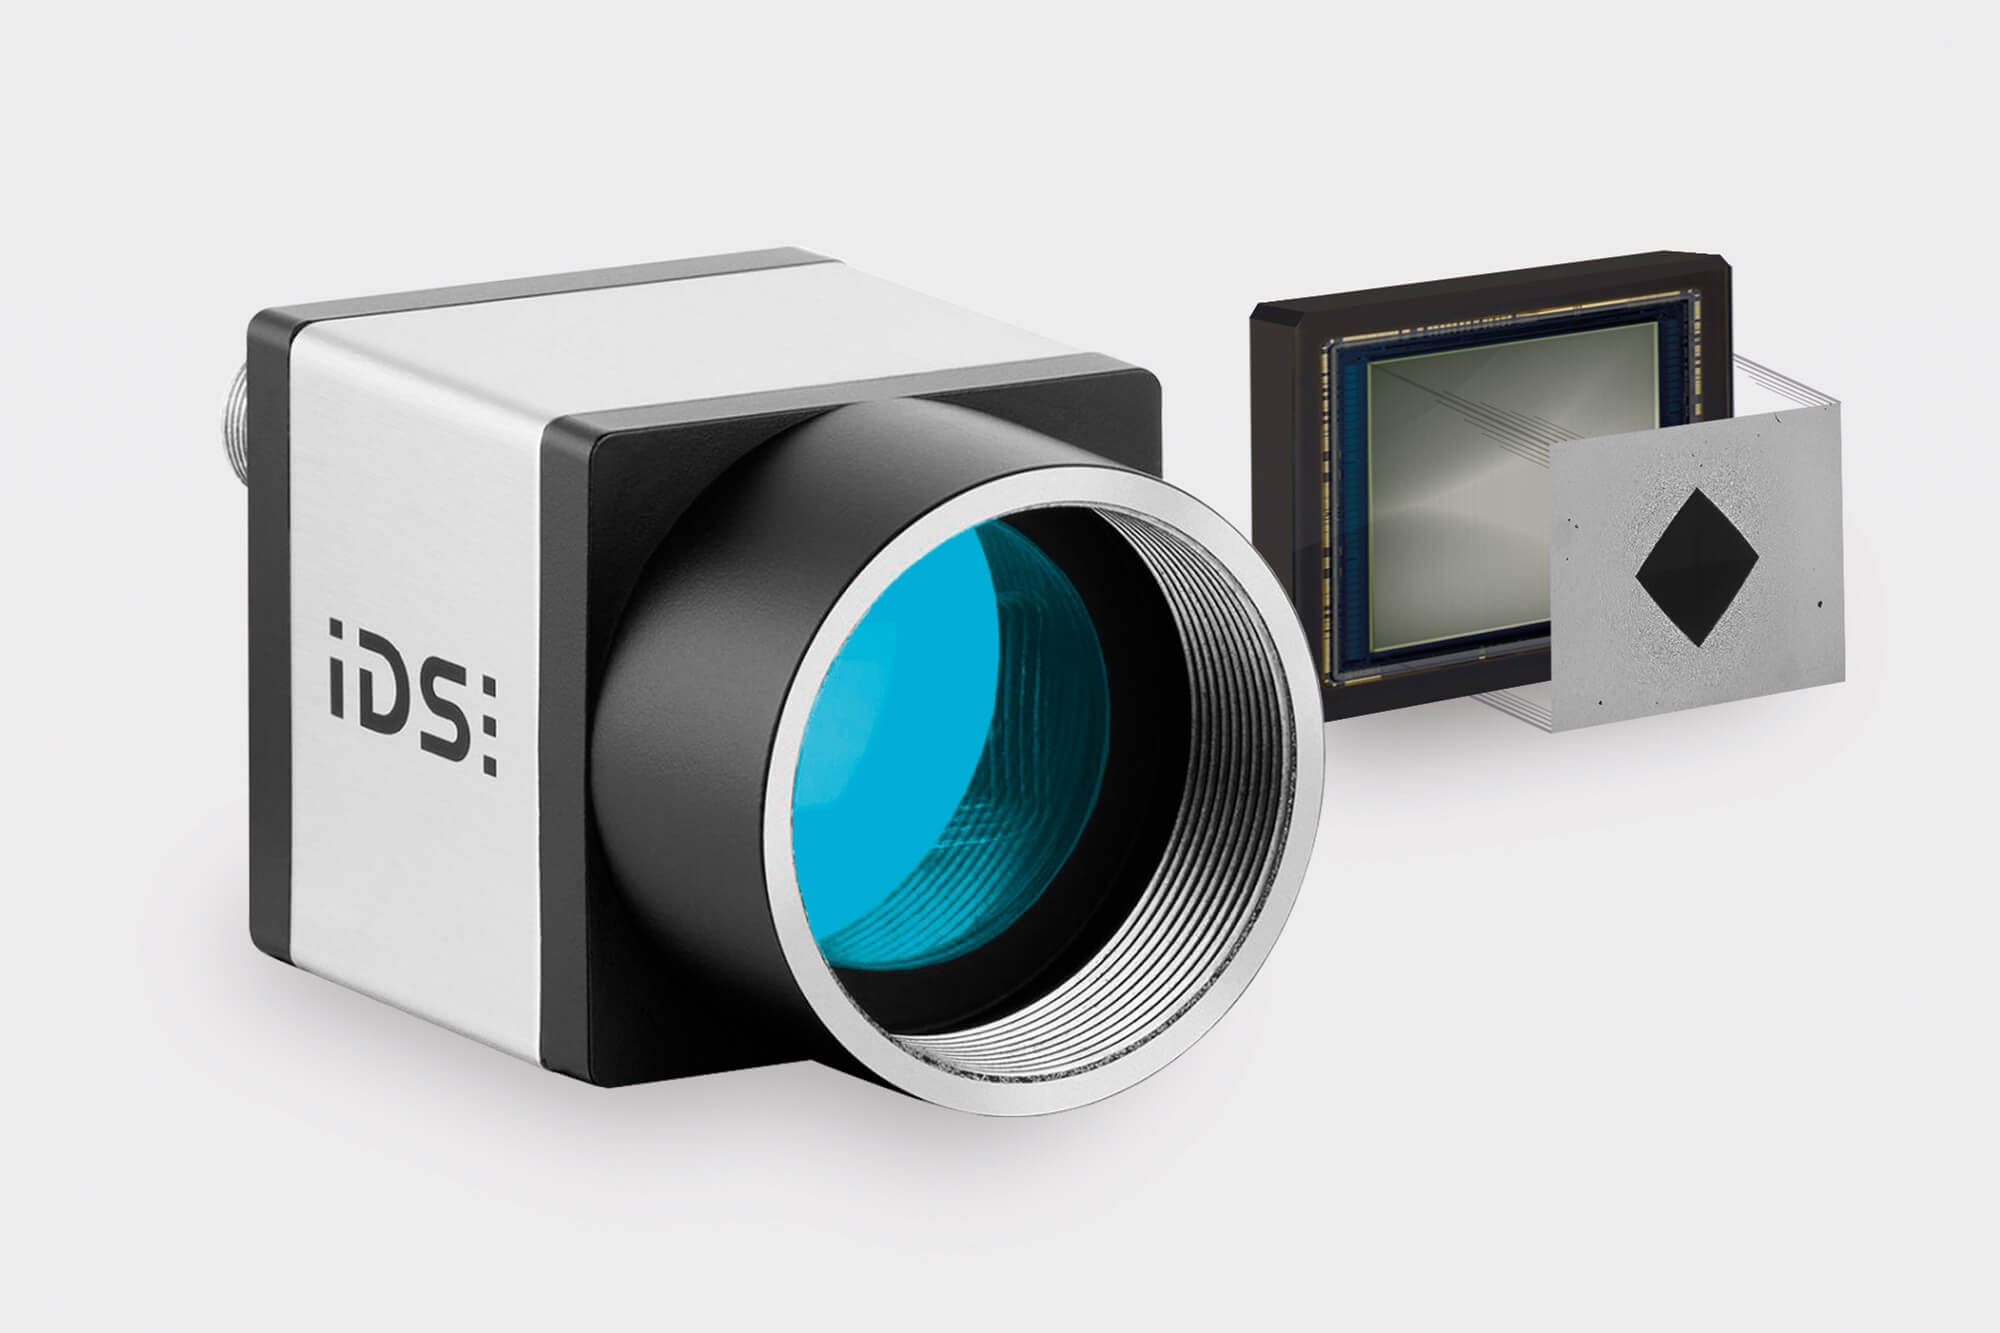 |
Tvrdoměry řady Qness 200 jsou osazeny novými ethernetovými průmyslovými kamerami, CMOS 5MP. Na rozdíl od běžných kamer jsou tyto kamery rychlejší a poskytují vyšší stabilitu přenosu obrazu, což umožňuje lepší reakci celého optického systému – obraz – světlo – zoom a celkově vyhodnocení vtisku je výrazně rychlejší. Mezi další výhody ethernetové kamery je to, že je možné tvrdoměr a řídící PC umístit od sebe do velké vzdálenosti. To je ideální hlavně ve výrobě, kde tvrdoměr je umístěn ve výrobní hale, ale vyhodnocovací PC může být umístěn v čistém prostření laboratoře. |
OPTIMIZED TEST HEAD DESIGN
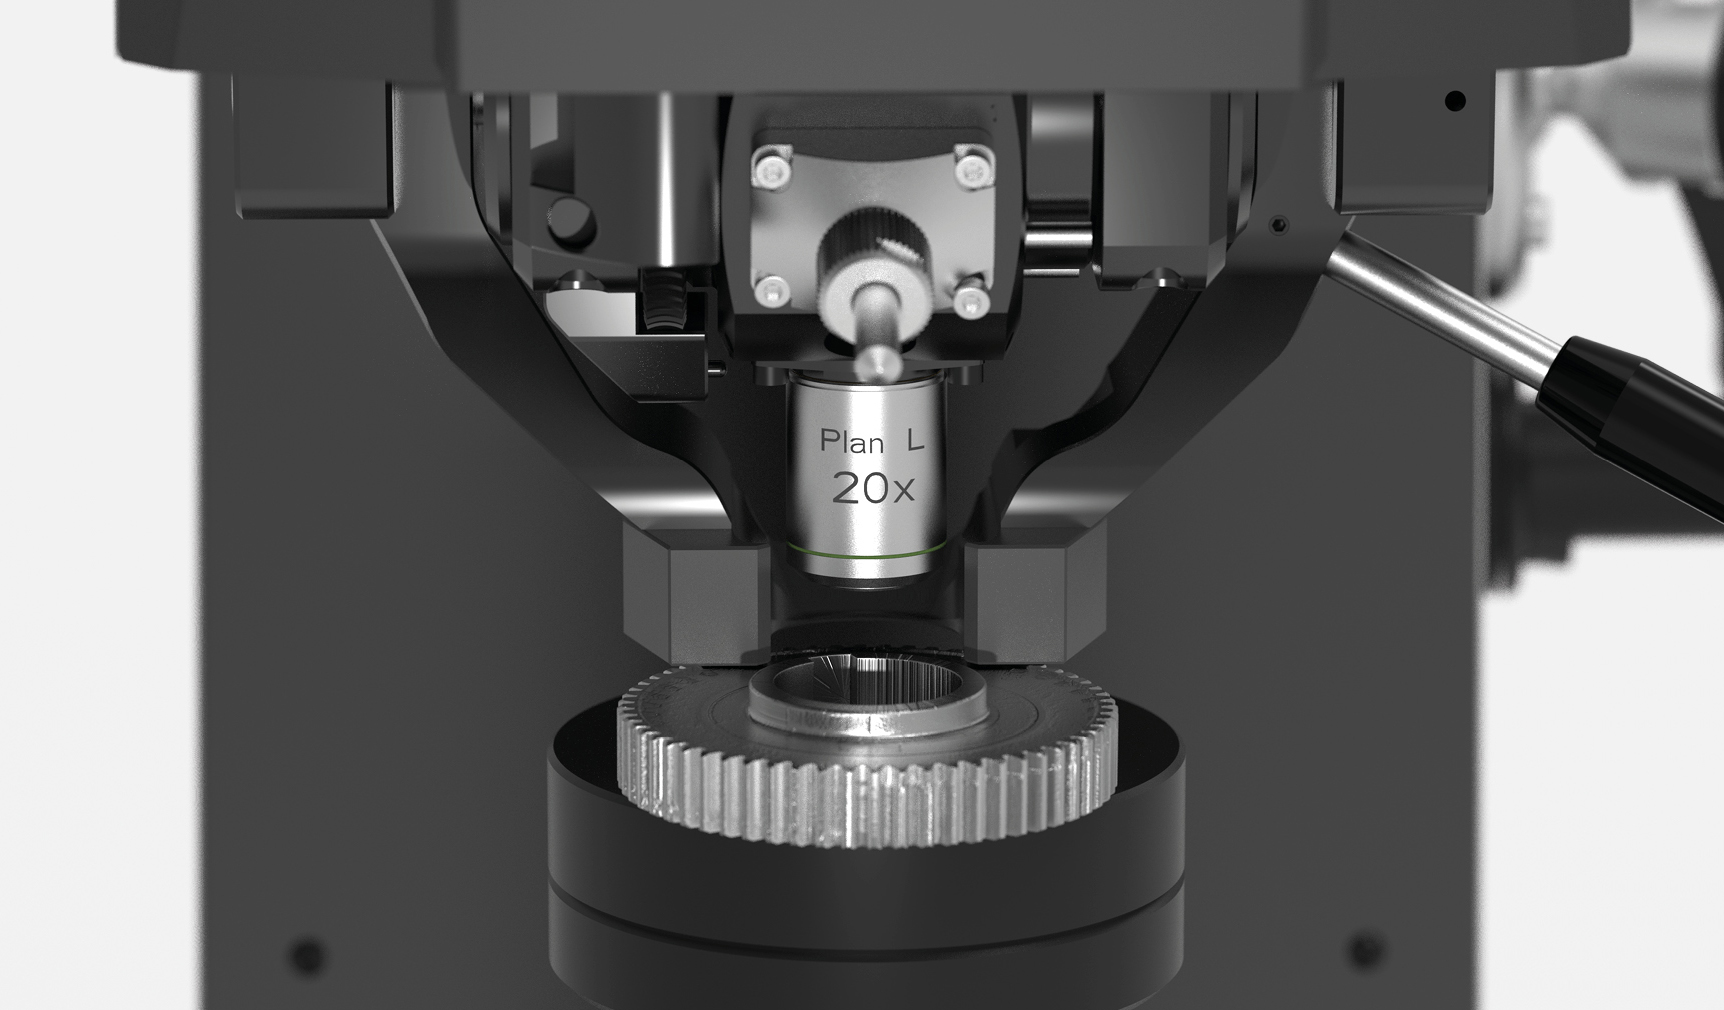 |
A range of clamping and holding elements can be configured to suit tooling requirements. The optional transparent collision guard can protect tools on the device from damage while ensuring an unrestricted view of the test cell interior. |
RAPID INDENTER CHANGING SYSTEM
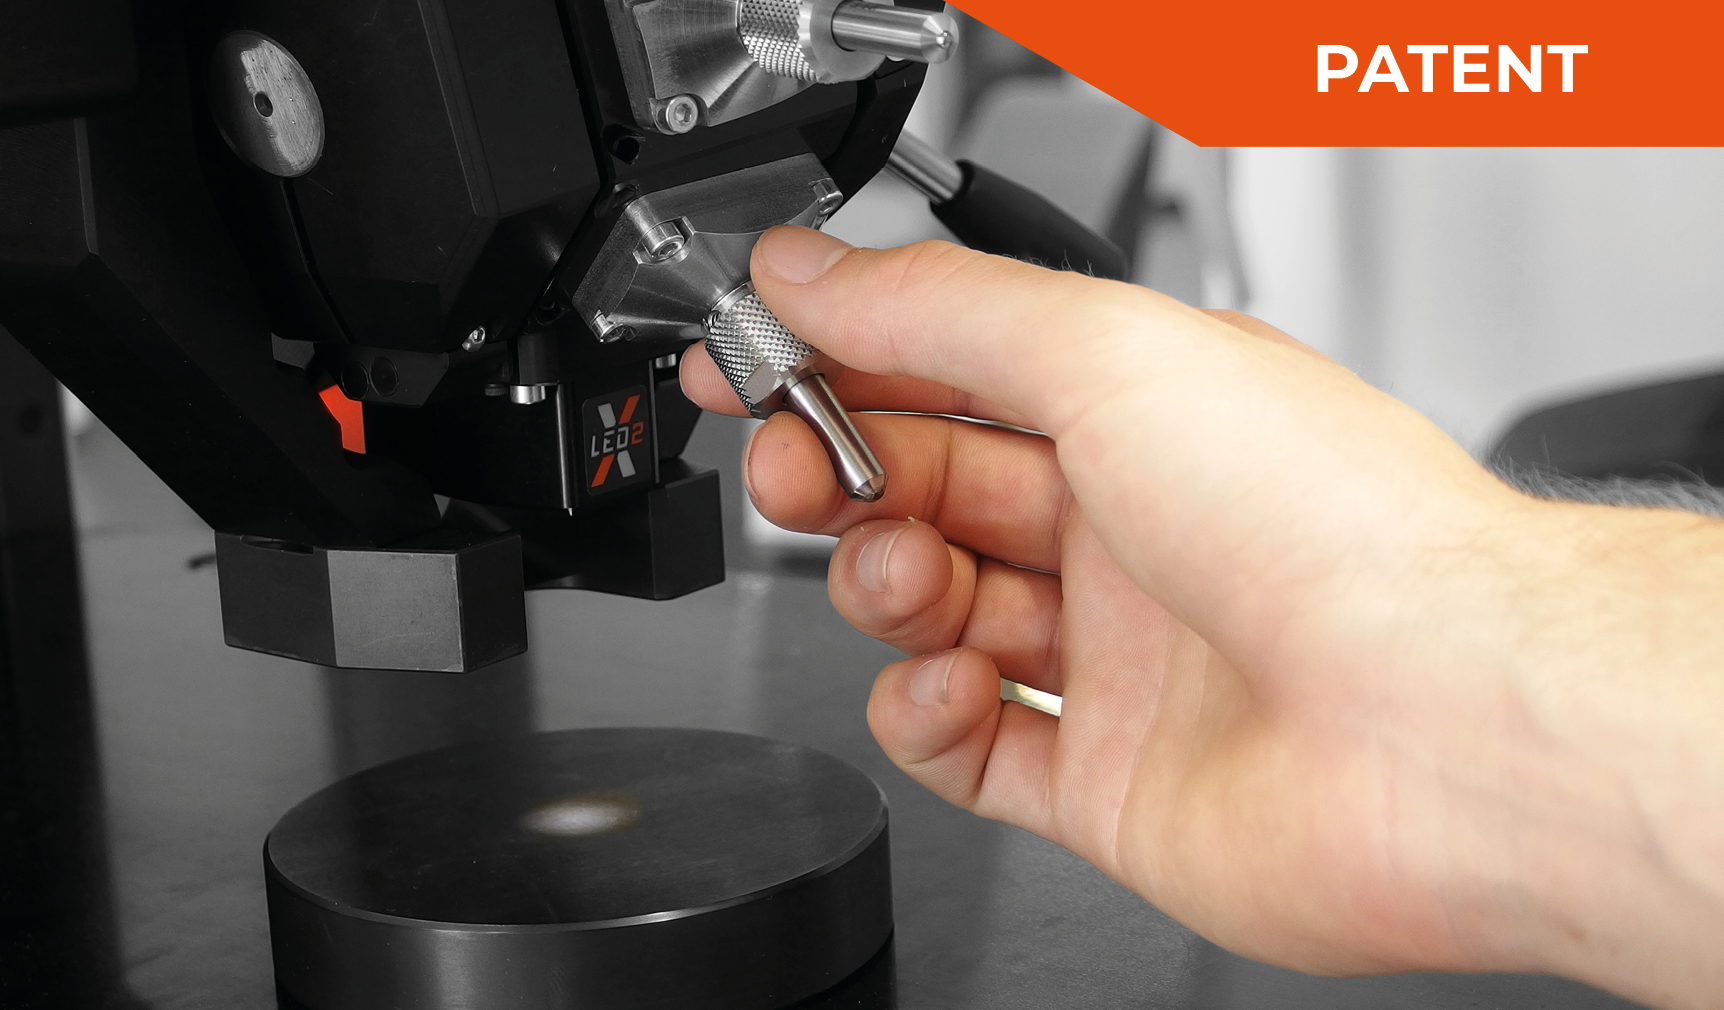 |
Uniquely simple, tool-free indenter changes due to indenter quick-release mechanism. |

FASTER TEST METHOD CHANGE-OVER
5-POSITION TOOL CHANGER
Simply cover universal applications: the concept with horizontal rotary axis combines space for 5 tools in a uniquely compact design. Three-sided closed elements ensure secure workpiece clamping close to the test point, even with small components.
FULFILLS CLEAR REQUIREMENTS
SIMPLE AND RELIABLE
TEST TABLE HEIGHT ADJUSTMENT
 |
The height of the test table is infinitely adjustable (position can be fixed) via the play-free roller-bearing spindle guide - ideal for fully automatic series and progression tests on parts with identical test height. The test sequence is performed without clamping. Individual tests can also be carried out with the patented, swivelling downholder clamp. |
AUTOMATIC PROGRESSIONS
 |
The automatic XY slide with high-precision positioning drive enables extensive test series and hardness curves. External joystick for controlling the axis. Usable support surface: 180 x 200 mm, Traverse path: X 220 / Y 220 mm. |
EMBEDDED SAMPLES
 |
QATM sample holders, with up to eight embedded samples, can be placed on the large workpiece support to be tested in one operation. |
GRINDING PLATE
 |
Grinding, polishing and hardness testing - all in one work cycle. The machine is designed to be equipped with the grinding plates of the QPol machines, using a special contraption. This prevents the need to unclamp the samples in between steps. |
WORKSPACE ILLUMINATION
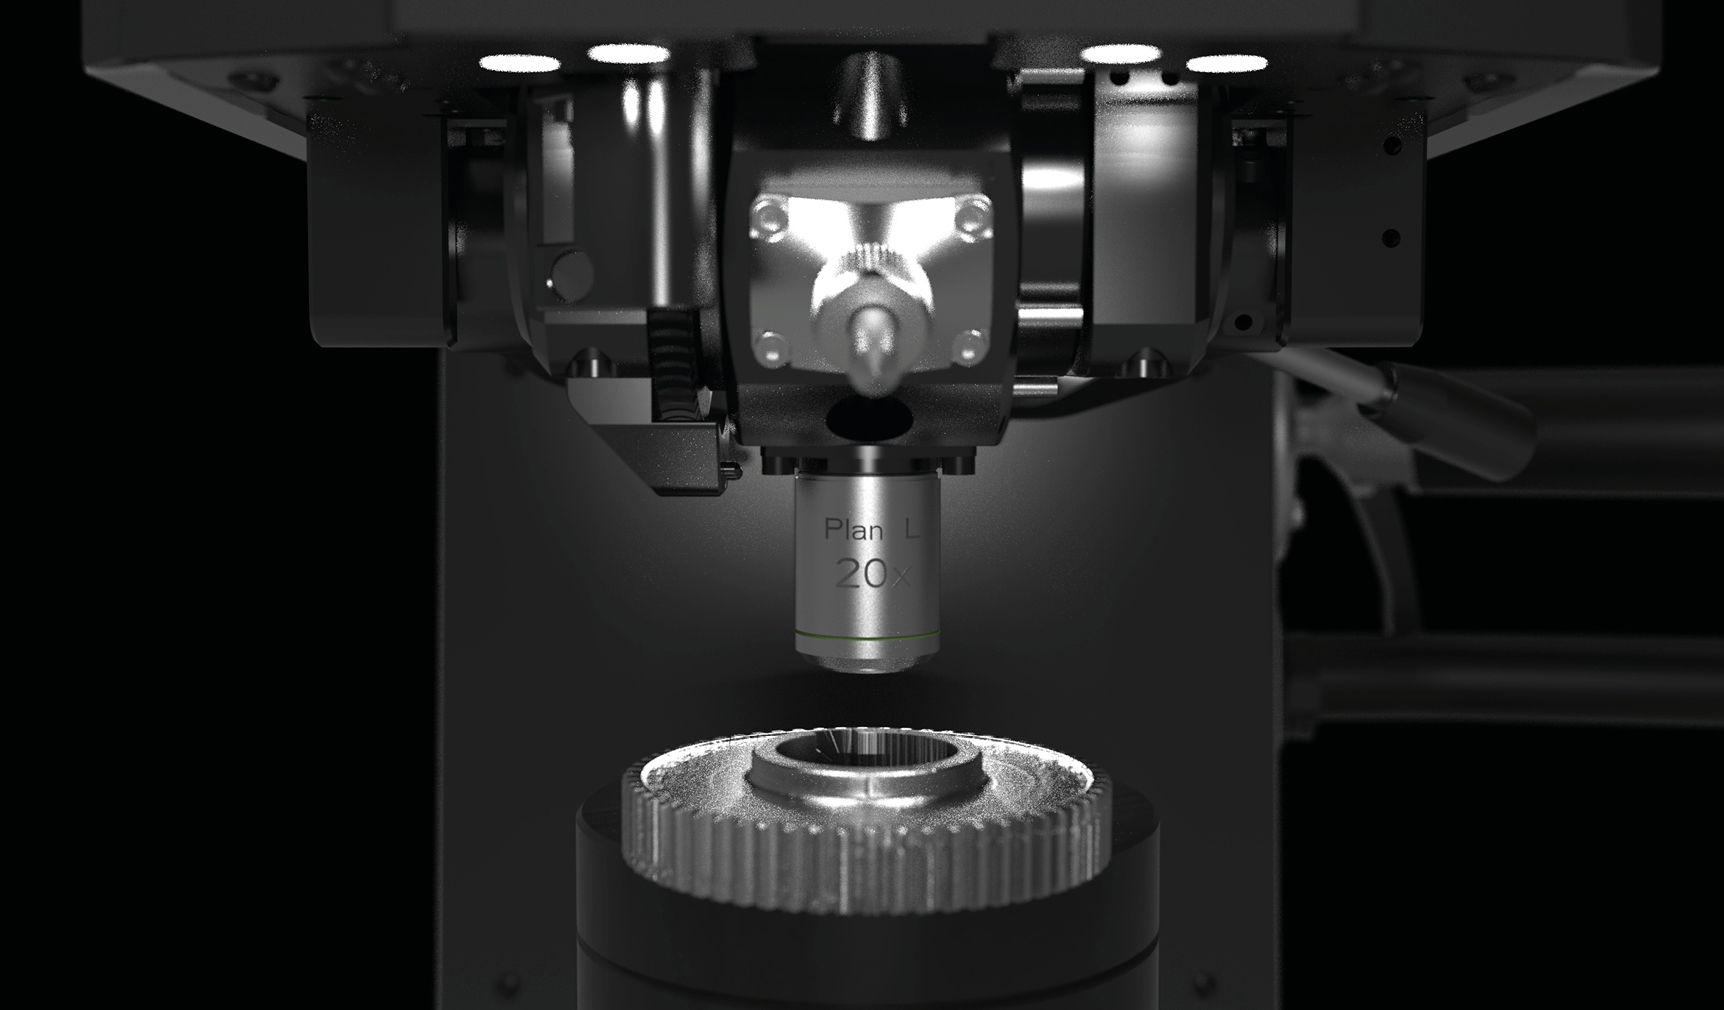 |
The bright, uniform LED workspace lighting enables safe positioning of the test part. The workspace lighting is designed to illuminate the test area without disturbing shadows. |
HIGHLY PRECISE AND HIGHLY AUTOMATED
CUSTOMIZED FOR YOUR TEST REQUIREMENTS
FULLY AUTOMATED 3-AXIS CONTROL
 |
Fully automatic and robust XY slide with high-precision positioning drive. Dynamic joystick to control all 3 axes (XYZ). Usable support surface 200 x 180 mm. |
MAXIMUM CLAMPING SAFETY
 |
High-performance induction motor facilitates an ideal workpiece clamping force. Clamping power is adapted to the test method and is automatically set to be greater than the test force. Operators do not need to set levels and can rely on the device to guarantee safe, optimized adaption. |
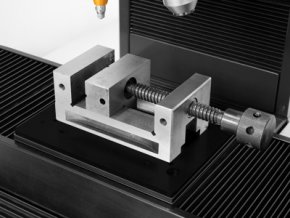
SPECIAL CLAMPING DEVICES
 |
QATM is the right stop for advice on complex requirements and clamping devices! It would be our pleasure to advise, devise, customize and implement a solution for you. Only the right component clamping solution can guarantee reliable results. |
SAMPLE IMAGE CAMERA
 |
Ultimate ease of use with 5 megapixel colour camera for recording the entire sample for a perfect overview and documentation in the protocol. It is standard in the CA+ and A+ versions to record the entire table surface as sample image. |
IDENTICAL SAMPLE TESTS
 |
An entire range of relevant data, such as test patterns, test methods and user fields can be activated via pre-defined sample magazines. QATM can provide the most suitable clamping setup, matrices and cassette systems for every requirement. |
MACRO HARDNESS TESTER QNESS 200 CSA+
APPLICATIONS - PRACTICAL
TOOTH FLANK TESTING
 |
The time-consuming creation of test points, especially with tooth flank testing, is minimized by means of pre-defined templates. The A+ version enables the entire normed procedure between HV30 and HV1 to be done by one single device. |
TEMPLATE FUNCTION
 |
Ideal for repeated tests / components Alignment of ‘test point mappings’ directly on the work piece with reference lines and bench marks Test point and analysis patterns without ‘fixed stop’ or sample holder The sample image can be used in a clearly-structured test report |
WELD SAMPLE TESTING AND ANALYSIS
 |
Serial provision of ‘Advanced Welding’ functions facilitates the simple, norm-compliant (e.g. EN ISO 9015 & EN ISO 22826) integration of test mapping for Brinell / Knoop / Vickers hardness testing. Pre-defined patterns can be simply adapted to each respective test piece via interactive functions. If required, Qpix INSPECT modules can also provide a simultaneous material-graphics analysis of the weld seam. |
2D/3D AREA MAPPING
 |
The optional software module ‘2D/3D hardness chart’ is the perfect aid for the detailed determination of hardness distribution over the total cross section, especially for heat-treated materials. This is extremely important in material exploration, and also for weld testing or in damage analysis. |
EDGE RECOGNITION
 |
Edge recognition involves automatic adaption of test row starting points to the sample edge when using the according project and templates. The module significantly increases the degree of automation and is an ideal add-on to the serially provided AutoSnap function. |
FRACTURE LENGTH MEASUREMENT
 |
The K1C value is established via norm-compliant measurement of the 4 fracture lines. The MPa√m is subsequently calculated automatically. |
OPERATION VIA EXTERNAL PC-SYSTEM
REVOLUTIONARY 3D OPERATING CONCEPT
Intuitive, clearly organized and professional: Qpix Control2 next-generation hardness testing software, developed based on customer feedback and input for maximum user-friendliness. 3D imaging and a whole range of easily understood control elements and views included in the software. It sets new standards in hardness testing.

|
|
CUSTOMER-SPECIFIC SAMPLE HOLDER
Identical samples can be set up in the software in scale as a 3D model.
|
|
|
SAVE TIME WITH OPTIMUM STOP
Time-saving test mode ‘Complete all indentations – then evaluate’ and ‘Optimum Stop’ to complete test series as soon as the lower hardness limit has been undercut. |
INDUSTRY 4.0 FOR CONNECTED TOMORROWS
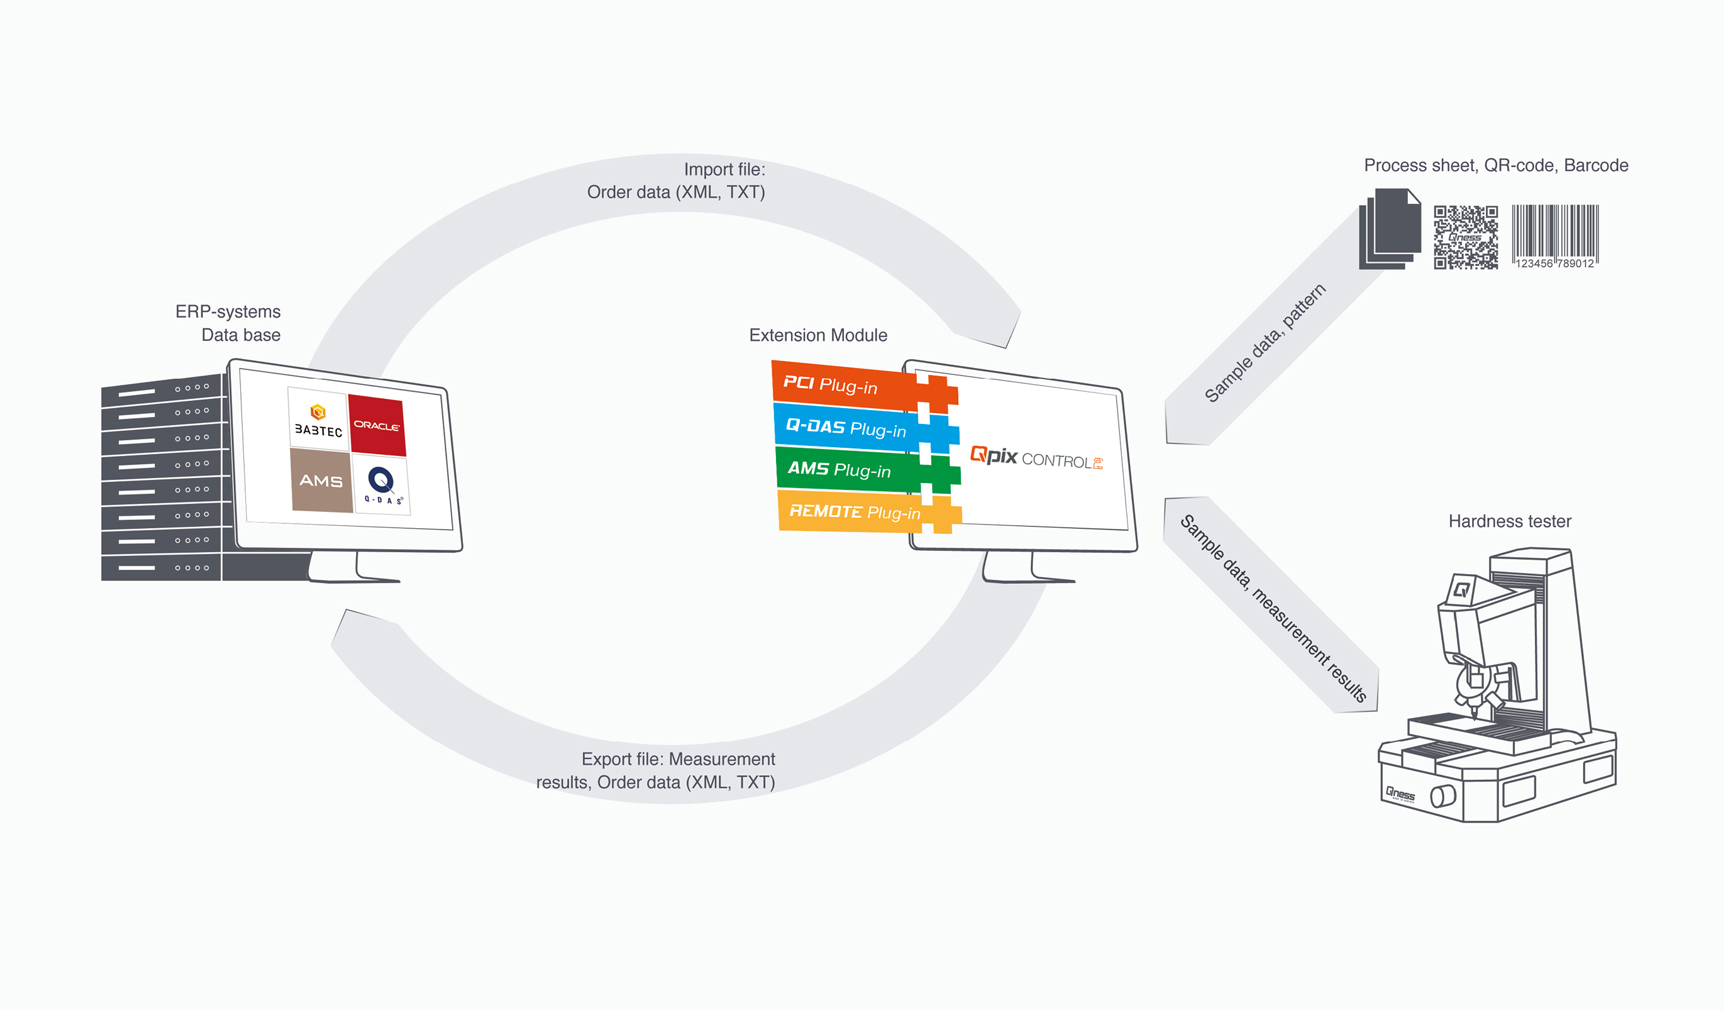
Qconnect is the interface in QATM Qpix Control2 software, providing customers with a full portfolio of inter-device connectivity - from serial production, open XML interfaces (bi-directional) and pre-specified plug-in solutions, such as the QDAS Plug-In+, through to customer-specific connectivity solutions implemented completely by QATM. We have a professional solution for every applicational requirement.
Learn more about our Qconnect-Project

PARAMETRY:
|
Test force range |
0.5 - 187.5 kg (4.9 - 1839 N) |
|
Tool Positions |
5 (toolchanger) |
|
Software |
Qpix Control 2 |
|
Height adjustment |
motorized |
|
Test height |
140 mm |
|
Throat depth |
238 mm |
|
Test table |
180 x 200 mm |
|
Traverse path |
X 220 / Y 220 mm |
|
Max. workpiece weight |
"unlimited" |
|
Weight of basic device |
174 kg |
|
Test sequence |
fully automated / electronic force application |
|
Camerasystem / Image transfer |
5 MP ethernet industrial standard |
|
Operating system / Harddrive |
Windows 10 IoT / 128 GB SSD |
|
Ports |
1x USB (Front) 4x USB, 2x RJ45 (Ethernet), 1x DisplayPort, 1x RS232, 1x HDMI |
|
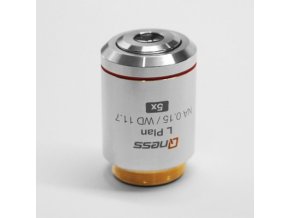
Lenses |
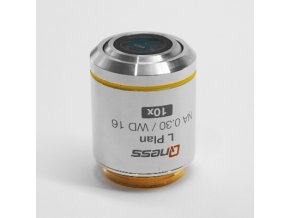
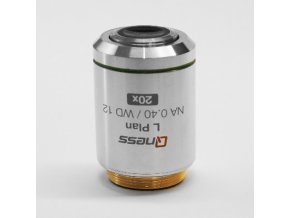
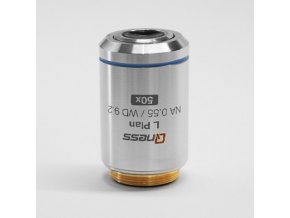
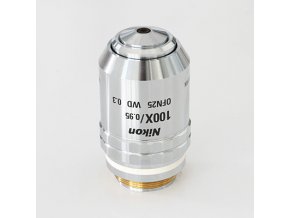
XLED 2, XLED 5, 5x, 10x, 20x, 50x, 100x |
|
Field of view (acc. to equipment) |
0.113 x 0.084 mm (100x) to 4.24 x 3.18 mm (XLED2) |
|
Additional optioins |
QATM designer pedestal, collision protection, cross laser, test anvils,prisms, data connections, barcode/QR code reader etc. |
 Brožura tvrdoměr Qness 200 CS (2.8 MB)
VIDEA:
| Hmotnost | 0.1 kg |
| Číslo celního sazebníku | 90241040 |
| Země původu | AT |
| Test force range | 0.5 - 187.5 kg (4.9 - 1839 N) |
| Tool Positions | 5 (toolchanger) |
| Software | Qpix CONTROL 2 |
| Height adjustment | motorized |
| Test height | 140 mm |
| Throat depth | 238 mm |
| Test table | 180 x 200 mm |
| Traverse path | X 220 / Y 220 mm |
| Max. workpiece weight | "unlimited" |
| Weight of basic device | 174 kg |
| Test sequence | fully automated / electronic force application |
| Camerasystem / Image transfer | 5 MP ethernet industrial standard |
| Operating system / Harddrive | Windows 10 IoT / 128 GB SSD |
| Ports | 1x USB (Front) 4x USB, 2x RJ45 (Ethernet), 1x DisplayPort, 1x RS232, 1x HDMI |
| Lenses | XLED 2, XLED 5, 5x, 10x, 20x, 50x, 100x |
| Field of view (acc. to equipment) | 0.113 x 0.084 mm (100x) to 4.24 x 3.18 mm (XLED2) |
| Additional optioins | QATM designer pedestal, collision protection, cross laser, test anvils,prisms, data connections, barcode/QR code reader etc. |
Buďte první, kdo napíše příspěvek k této položce.
Pouze registrovaní uživatelé mohou vkládat příspěvky. Prosím přihlaste se nebo se registrujte.


